Finding that right mug for someone, or even yourself, can take some time, and even money. But many people never think to make one themselves. Making one yourself can add some pride, take less time and money, and even add some personal flare and love.
I was on the lookout for a certain mug for myself (a peace sign mug of course) and looked everywhere for one that was just right and the perfect one. I had found one in a magazine that was just the best, but they came in a set, and they actually stopped selling them a few months ago. I collect mugs, and only wanted one.
So I went out and about trying to find one online, and in stores. But while at a craft store it clicked; I can just make one myself. And when I say make one, I mean to paint it. Painting a mug is actually really easy and simple.
All you really need is:
a mug (preferably one that is microwave safe)
paint brush
stencil or picture of what you want to paint
a bottle of acrylic enamel paint

I found this mug just at meijer for real cheap. It's actually a stoneware mug which I LOVE stoneware. The paint I bought at Micheals for like 2 bucks. And yes, that is a makeup brush. I couldn't find my brushes at the time, so I used a brush that I rarely used.
Something to think about are the colors. I liked the color of this mug a lot, and the paint, of course in green, I chose in a color that would stand out and somewhat match the mug. You don't want a color that will blend with the mugs color, or wont stand out as much against the mug.
After you gather your materials, it's time to start painting. It doesn't have to be perfect the first time. You will add layers, but in between the layers, please allow time for the layers to dry.
Then the final step is to set the oven for 350 degrees. But once you do that, place the mug on a cookie sheet and in the oven till it dings that it's 350. Then let the mug sit in there for 30 minutes. After that, turn the oven off and let the mug cool down with the oven. Allowing the mug to heat up and cool down with the oven will allow the mug to slowly do so. Not allowing this might result in the mug cracking or the paint baking on the oven weird.
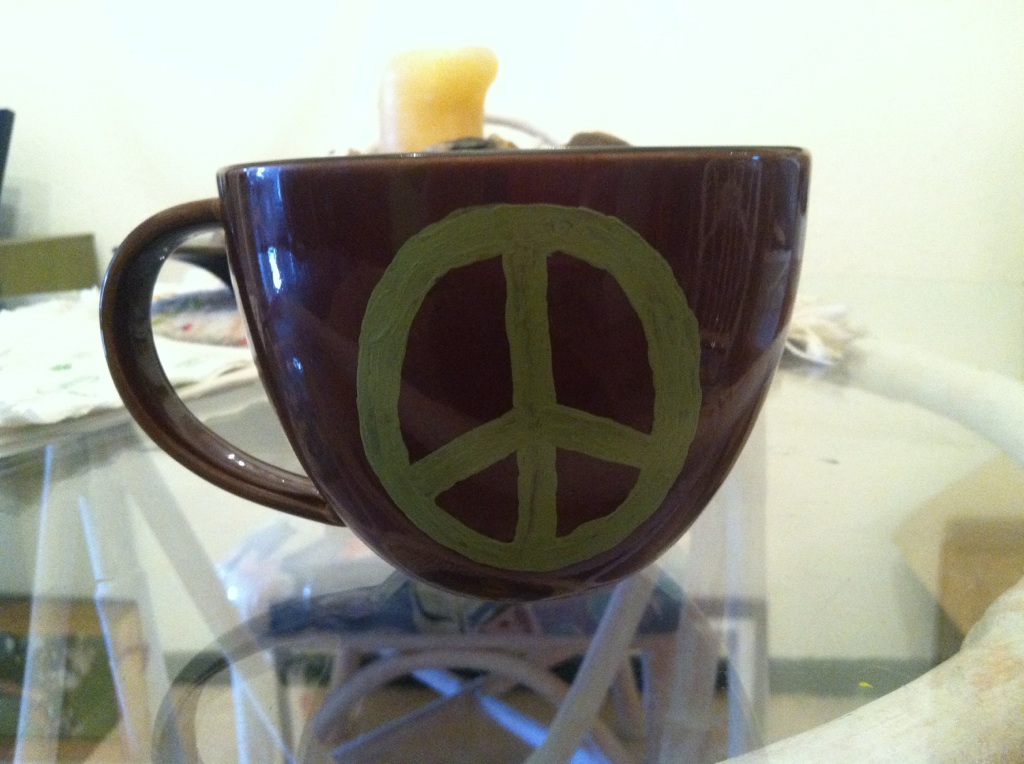
This is the final result for my peace sign mug. I totally love it. The paint is a lil odd on it, but I don't care, it looks handmade and it is awesome.
After all this, to wash I would recommend by hand. You don't want the paint to accidentally chip off in the dishwasher. The top rack might be safe if and only if your mug is dishwasher safe itself. I have yet to try it with my mug so be warned diy-ers!
I hope this is very helpful for you if you decide to do one, or millions on your own. They are addicting! And are perfect for gifts!
Happy diy-ing! And stay at peace!